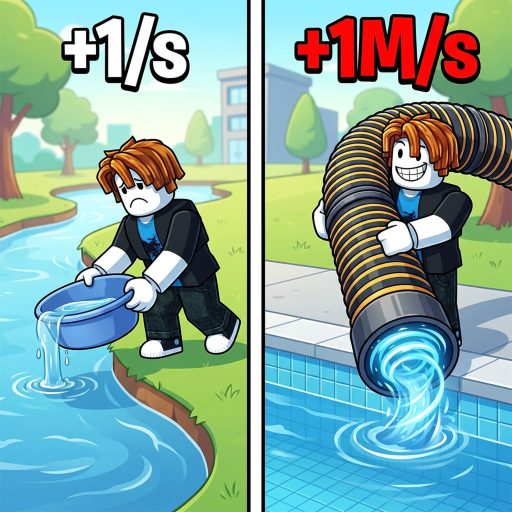
+1 Drain Water Per Click Guides
Four guides that cover the whole game: the first drain, the pump ladder, the money methods, and the rate decisions — all built on community-documented data, checked 2026-10-03.
The whole game in one paragraph
+1 Drain Water Per Click is a water-clicking simulator by Wrestling Elephant Studio. Every click trains your Water stat — the official description's "every click gives you +1 WATER" is the baseline, and Pumps, Pets, Rebirths, and Auras multiply it from there. Your Water level is also your drain speed: pools empty faster, and each drained pool reveals Fish that you pocket into a limited Backpack and sell for Cash. Cash buys the quality-of-life upgrades (Backpack, Walk Speed, Display Stand space), while your best Fish go on display in a personal aquarium that pays per minute — and a Mutation (Gold ×2 up to Hole ×20 on sale value) is what turns an ordinary catch into a jackpot. The loop closes at the pump stands: Lucky Clover ×12 for 300 Water, climbing rung by rung to Dianeti ×4M for 15B, with Rebirths trading your Water level for permanent multipliers when the ladder gets steep.
Six steps the game repeats
The documented core loop (Sportskeeda's beginner guide, August 22, 2026; checked 2026-10-03). Every guide on this hub is one of these steps under a microscope.
- 1
Train Water with every click
Holding the left mouse button trains your Water stat, which starts at the official +1-per-click baseline and grows as you buy better Pumps, Pets, Rebirths, and Auras. Your Water level is also your drain speed: the higher it is, the faster the current pool empties. Movement uses WASD, Spacebar jumps, E interacts, and LMB trains.
- 2
Drain pools and collect the Fish underneath
Each drained pool reveals Fish sitting at the bottom. Walk over them to pick them up into your Backpack, which caps how many Fish you can carry at once. When the Backpack fills, either move on to the next pool or warp back to the hub with the Shop button to sell.
- 3
Sell Fish for Cash
Selling Fish is the game's Cash engine. The payout depends on the Fish's rarity and on its Mutation, which multiplies the sale value. Cash buys quality-of-life Upgrades such as Backpack space, Walk Speed, and Display Stand space — each bought one level at a time.
- 4
Display Fish in your personal aquarium
Valuable Fish can be placed on display stands in a personal aquarium. A displayed Fish generates income every minute, so the aquarium is the game's stable passive Cash source and the reason to keep the best pulls instead of selling everything.
- 5
Reinvest in Pumps, Pets, and Rebirths
Pumps multiply the Water each click earns, hatched Pets add their own Water multiplier while equipped, and a Rebirth resets your Water level in exchange for permanent multipliers to Water gains and Cash gain. Community guides treat Pumps as the first optimisation priority, then Pets, then Rebirths.
- 6
Use the hub training pads
The hub and the play area contain Boosted Water training pads that raise your Water automatically, so an idle player still trains. Manual clicking stacks on top, which is what makes short active sessions so much stronger than pure AFK time.
Start with the guide that matches your problem
Each summary says what the guide covers and who it is for — no hunting through pages to find the right one.
Beginner guide
The first-hour path: hold LMB to train Water from the +1 baseline, watch the counter, and buy the first cheap pumps — Lucky Clover at 300 Water jumps your rate to ×12. The guide walks the hub (training pads, Shop warp, upgrade stands) and ends with the decision every new player faces: spend Cash on Backpack space before chasing expensive Water.
Start here if the game still feels like "just clicking".
The long climbPool progression guide
How the official description's systems chain together: drained pools reveal Fish, Fish pay Cash, Cash upgrades the carry capacity that keeps sessions efficient, and the pump ladder — 300 Water to 15B — is the spine of it all. The guide also covers the named-but-undocumented layers: bigger pools, new Areas and Lakes, Wins, and Water Master, with what each does and does not have published about it.
Read it when the next pump costs millions and the route needs a plan.
Money and WaterWater farming guide
Every documented earning method in one session plan: the drain-and-sell loop with a Backpack that fills, aquarium stands that pay per minute, training pads for idle time, weather windows that roll ×10–×20 mutation values onto Fish, and the Rebirth reset that compounds both Water and Cash gain. Each method carries a stop rule so a session ends at a target instead of a feeling.
Read it before a long grind or after a Rebirth.
Rate decisionsUpgrade planner
A comparison tool for the only question that matters mid-game: is the next rate upgrade worth its price? Enter the multiplier you have and the multiplier you are buying — ×125 Electric versus ×300 Volcanic Lava, say — and the planner shows the session length before and after, so the purchase argues with numbers instead of vibes.
Open it whenever a pump stand shows a price that stings.
Beyond the guides: the water calculator turns any target into clicks, the session planner prices every pump rung, the codes page lists the one-time Egg and Coin rewards, and the wiki holds the reference tables behind every number quoted here.